Make 9 #2 - Vernon Shirt
A review by Annamarie Cripps, Social Media Coordinator @ Rick Rack Textiles
The second Make Nine of the year is complete!
I made the Vernon Shirt from Cashmerette using this gorgeous eyelet embroidered cotton with a digital floral print. We have 2 styles of prints, and it was so hard to choose but I went with the purple and orange fabric because I loved the painterly style and dense floral print.

Pattern Details:
I made the shirt in a size 16, and loved the options for different cup sizes. No full bust adjustment required! There are 3 size ranges for the bust measurements, and I went with the E/F size.
Because the main fabric is so light and somewhat delicate, I used a contrast cotton for the collar, placket, cuffs and back yoke to make sure there was enough structure for it to have that crisp shirt feeling, despite it being such a light summer layer. To make sure I cut out the right pieces, I marked the croquis in advance to have a visual reference. It might seem obvious but sometimes it's nice to have the extra peace of mind.
The orange fabric is Art Gallery Fabrics Wildflower Wovens, but our Belvedere Sateen was a close second and I think this blue would pair so nicely with the other bluer floral print!
Before making this shirt, I had never done a Burrito Method make! It was a little bit tricky to wrap my head around how it would all work out, but the end result and clean interior finish is so worth it!
The pattern also has an alternate sleeve style if you want to make a dramatic balloon sleeve, but I wouldn't recommend that with this eyelet fabric.
Airy, vintage inspired vibes perfect for summer.

Pattern Adjustments:
I didn't have to make any adjustments for the actual pattern this time! While the pattern is drafted for a height of 5'6", no lengthening was needed, surprisingly. I checked the pattern pieces and garment measurements from the instructions against a RTW shirt I like the fit of to ensure the sleeves and body would be a nice length, and it worked out great!
The main adjustment I did need to make was a sneaky bit of fabric Tetris around the underarm on the front bodice pieces. Due to the fabric not being fully embroidered all the way to the edge, I adjusted the cutting layout to ensure the majority of the embroidery would be visible to the front. This ended up meaning that the fabric was a tiny smidge too narrow for the front bodice to be cut from one piece, so I added a sneaky extra seam before cutting out those pieces. It ended up being nicely hidden under the arm and doesn't affect the overall look or function, but it's worth mentioning if you were going to make this for yourself. If you're a size 12 or under the width will not require any extra work, but if you are cutting out a larger size allow for extra fabric here if you don't want the extra fuss!
Overall Notes:
This shirt is so cute! It was a fun venture into new techniques and a revisit of things like buttonholes. I was nervous about ruining the placket right at the end, so remember to keep some scraps to practice your button holes on when you're cutting out your pieces at the start. Your later self will thank you!
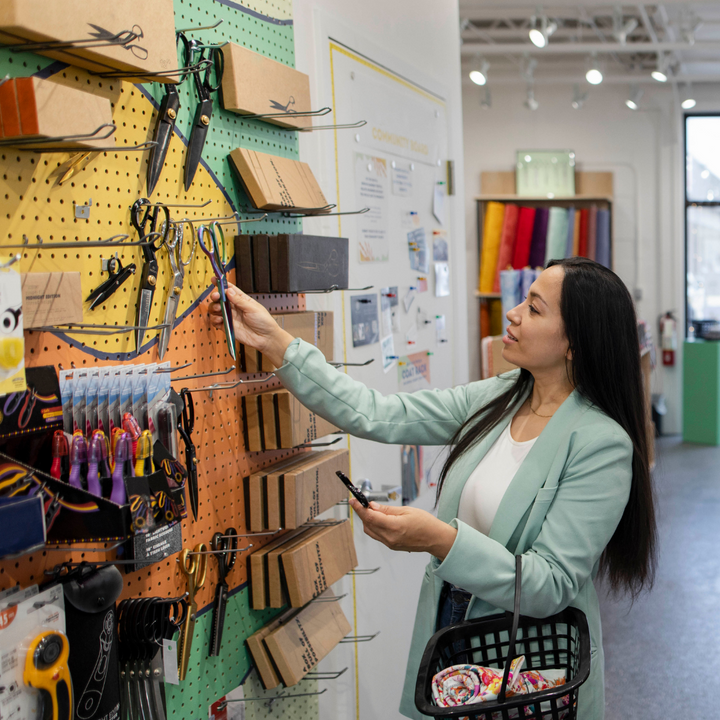
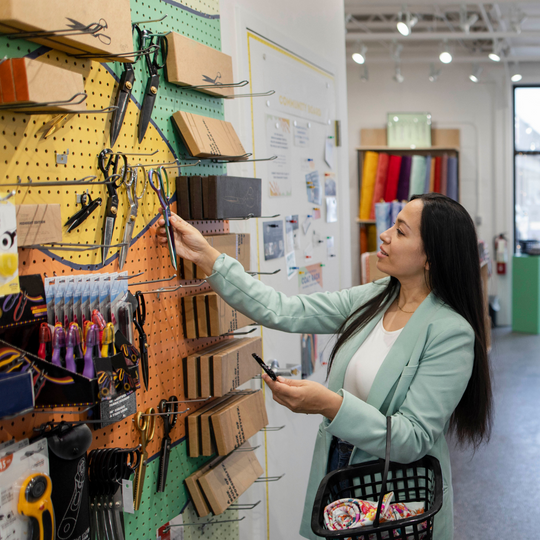
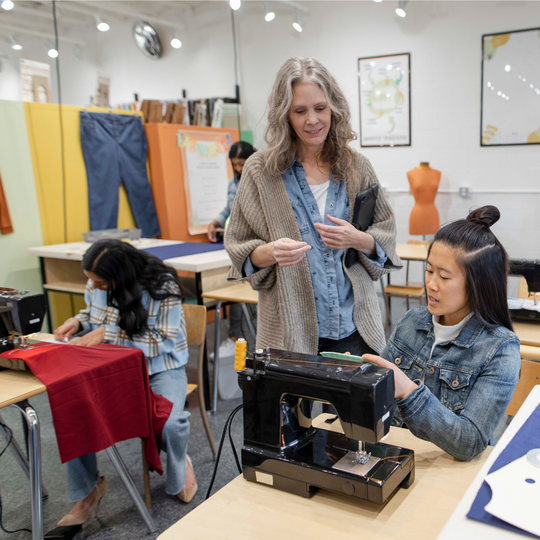
If you're looking to learn more sewing techniques, we're offering some new Micro Classes for the Burrito Method and Button Holes. These 75-minute classes offer a crash course on a singular topic, allowing you to up your skills in an afternoon.
Check them out here, and get all the technical info while you make a mini sample to take home. Great for visual learners!
So, now I've got a perfect summer shirt, and I need to make something to go with it on the bottom. Stay tuned for the 3rd installment, coming soon.
Image credits-
Mala Bergman Dress
Jessica Torres
Vienna Dress
Eyelet Camp Shirt